A Beginner's Guide to Data Backup on Ubuntu Server

In today's digital age, data is more valuable than ever before. Whether it is running a small business, managing a personal website, or simply storing important files, protecting data against loss is paramount. In this guide, I'll walk you through the process of setting up data backups on your Ubuntu Server.
Before diving into the technical details, let's take a moment to understand why backups are essential. Hardware failures, software bugs, human error, and cyber threats are just a few of the risks that can lead to data loss. By regularly backing up the data, we can minimize the impact of such events and ensure that we can recover information quickly and easily.
When it comes to backups, there are several strategies to consider. These include full backups, incremental backups, and differential backups. Each approach has its advantages and disadvantages, so it's essential to choose the one that best suits the needs and resources. For most users, a combination of full and incremental backups provides a good balance between data protection and storage efficiency.
I'll be doing full backup for the lab purpose in ubuntu server. Ubuntu Server comes with several built-in tools for data backup, including rsync, tar, and cron. These tools allows us to create, schedule, and manage backups with ease. Let's take a look at how to use rsync to set up a basic backup system.
Step 1: Installing Backup Tools
The first step is to install the necessary backup tools on your Ubuntu Server. Open a terminal window and run the following commands:
sudo apt update
sudo apt install rsync
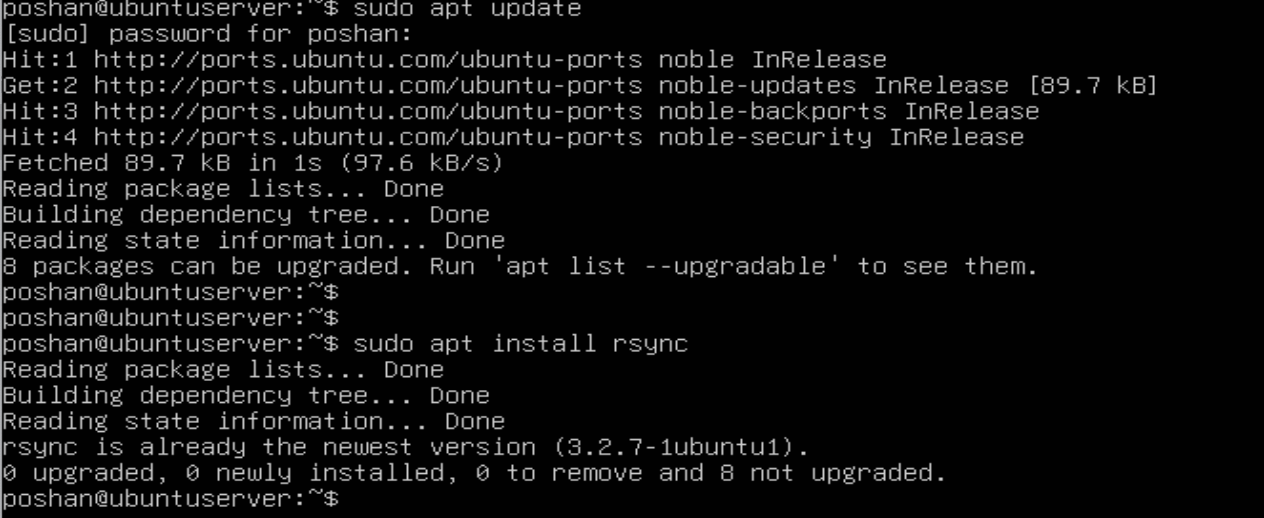
These commands will update the package repository and install rsync , which are essential tools for creating and managing backups.
Step 2: Creating a Backup Script
Next, Lets create a simple backup script that uses rsync to copy files from the server to a backup destination. I'll create a new file called backup.sh using vim text editor and write the following lines:
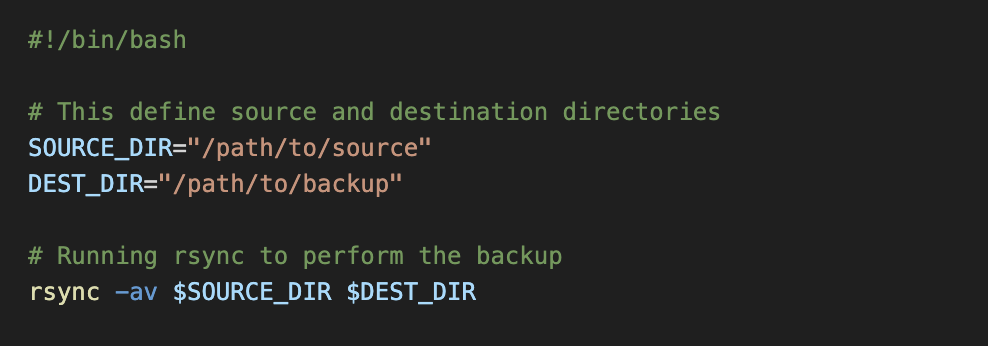
Replace "/path/to/source" with the directory you want to back up and "/path/to/backup" with the destination where you want to store the backup files.
My Final Script looks like this.

Point to Remember: Using this particular script we are doing full backup of the source, meaning every time the script runs, it copies all the files from source to the destination.It doesn't rely on incremental or differential backups, which only copy files that have changed since the last backup.
Finally give the executable permission to the script using the following command.
chmod +x backup.sh
Step 3: Scheduling Backup Tasks
Once we've created our backup script, we can schedule it to run automatically at regular intervals using cron jobs. Let's open a terminal window and run the following command to edit the crontab file:
crontab -e
Add the following line to the crontab file to schedule backup script to run. For now, I am running this script every minute.
* * * * * /home/poshan/backup.sh
Congratulations! We've successfully set up a basic data backup system on the Ubuntu Server. By regularly running backups and storing our data in a secure location, we can rest assured knowing that our information is safe and accessible, even in the event of unforeseen circumstances. Its just we have to check our backups regularly to ensure that they're working correctly and adjust backup strategy as needed to accommodate changes in data and infrastructure.